Tile Sheets of 224 Pennies Each | Real Penny Tile Projects Made Easy
Real Penny Tile Installation SAMPLE
Installation of our Sheets of Pennies
Part 1 - Real Penny Tile Installation
|
Part 1 |
We've done a very small project to show how covering a floor, wall, etc. with our sheets of pennies looks like and the beauty and uniqueness real penny tile can bring to your kitchen, living/family room, basement or other rooms in your home.
Disclaimer: We do not make any recommendations, expressed or implied, about installation methods, glues/adhesives, grouts, sealers, cleaning, maintenance, etc.
There may not be any products out there specifically made for tile sheets of pennies and therefore our only 'involvement' in someone's penny project is providing the penny sheets to save them the back breaking and time consuming work of gluing penny by penny to a floor/wall/etc.
If someone does a project with pennies gluing one penny at a time, they also have to make decisions about adhesives, grouts, etc. Those decisions are still theirs but the penny project is much easier when they choose our tile sheets of pennies.
Licensed and experienced tile installers should be consulted for advice, etc.
We cannot be responsible for anything related to anyone's project. Thank you.
This sample real penny tile installation begins with a piece of plywood about 2 by 3 feet and our interlocking sheets of pennies.
The penny tiles can be installed on concrete floors and other surfaces too, but for the purpose of this article it's much easier for us to use this plywood.
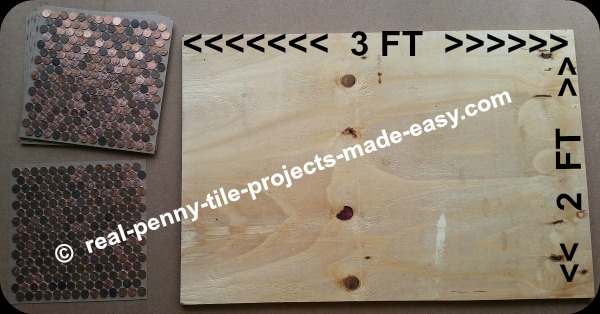
Next is what we call a dry fit or dry run - carefully taking the penny sheets and laying them on a flat hard floor, table, etc. (in this case the plywood) and begin to interlock them to get a feel of how this works so it'll be easier later on when the adhesive will be used for the actual installation.
Here are the first 2 sheets coming together...
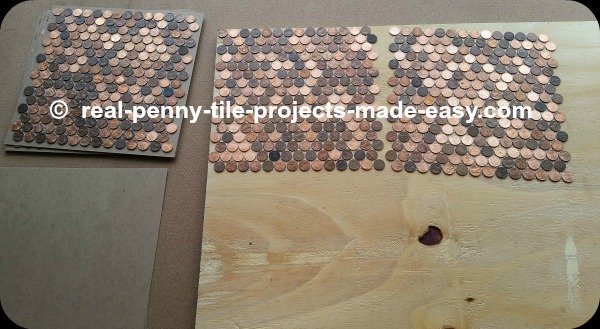
Four sheets of pennies interlocked with each other.
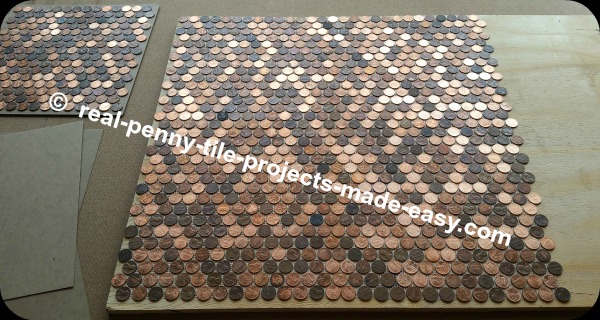
And here are 6 penny sheets with the last one about to fit in.
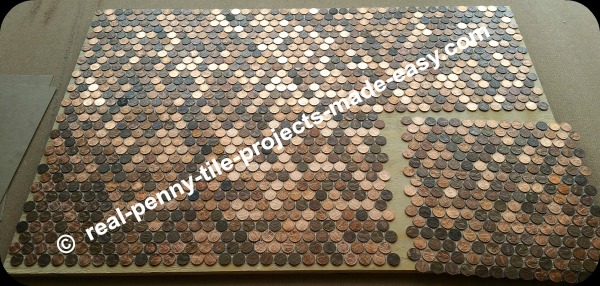
Careful preparation and planning are extremely important before spreading any glue on the floor/wall. A job done right will be seamless. Smaller areas are easier to handle but bigger areas may pose a challenge.
In general, any sheets of penny round tile (ceramic, etc) are much harder to keep aligned when installing compared to the average square tile (say 12x12 ceramic).
A very experienced licensed professional is probably the best choice for a real penny tile installation.
Real Penny Tile Installation Sample Spreading The Adhesive
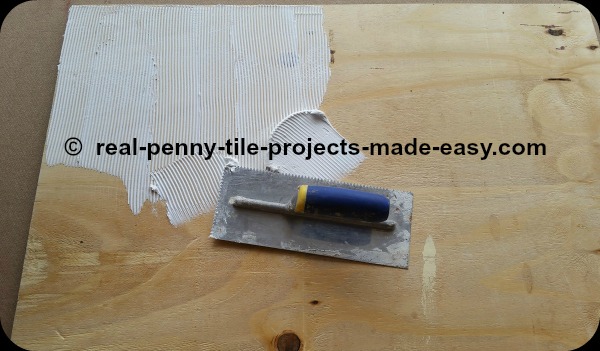
The adhesive must be spread thin enough so it won't come up between and above the pennies once the sheets are placed down. A professional should know which kind/size of trowel to use to spread the adhesive.
To be on the safe side, and as a general idea, the adhesive layer should be about as thick as a penny itself but the installer decides what's best based on doing and seeing.
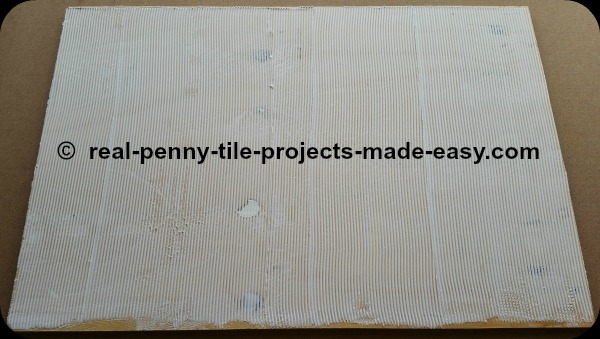
Placing the Penny Sheets in Premixed Adhesive
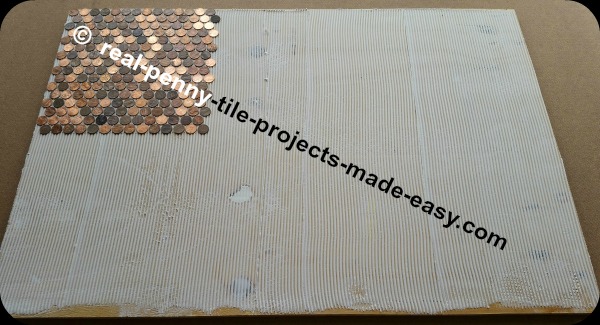
The sheets of pennies are now placed on the adhesive one by one making sure they are interlocked and the pennies 'flow' from one sheet to another without being able to tell where one sheet ends and another begins.
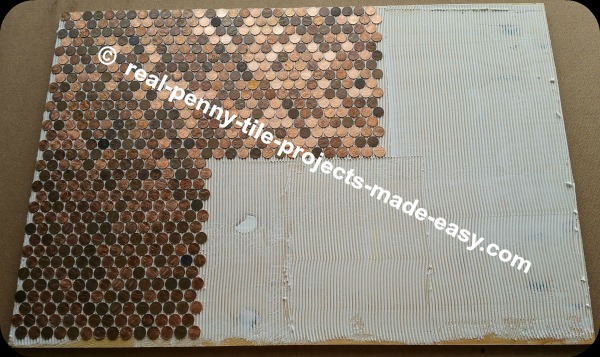
Also, the pennies should be gently pressed in place with a rolling pin to help the pennies be all at the same level while also 'helping' them make contact with the adhesive.
At the same time, no adhesive should rise up between the pennies, as this will interfere with the grout later on. If any adhesive rises up now in between the pennies (or worse, above their surface), it will definitely be seen sticking out through the grout at the end of the project. This should be avoided.
A rolling pin or similar tool rolled over the pennies is helpful here to make sure all pennies make contact with the glue and form an even surface.
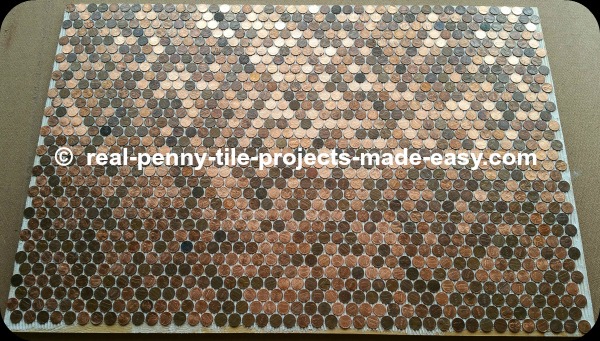
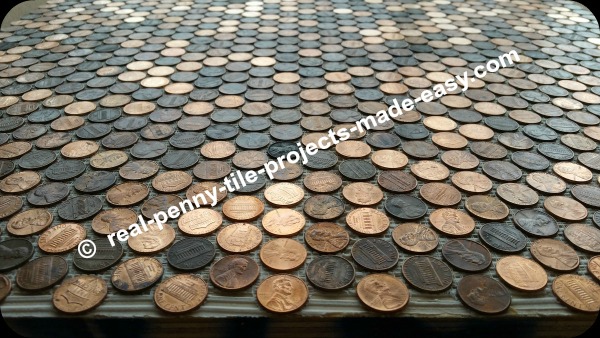
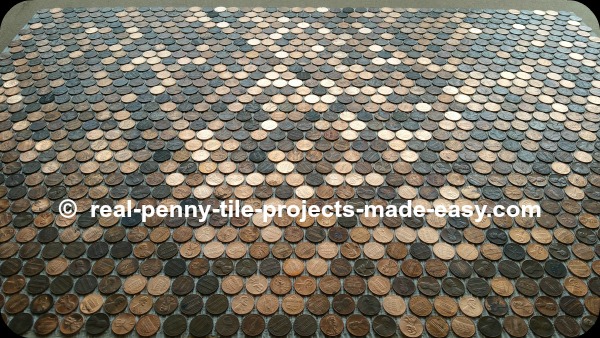
The next pictures show different views/angles of the same 6 sheets of pennies glued to plywood above.
Notice how no adhesive comes up between and above the pennies. This provides assurance that no adhesive will be visible through the grout later on.
Now we step back for a while and enjoy the view. A big helper comes along to take over the project and it does it ...(sorry)... dries it for free. It's called time.
Let time 'work' on your project for 24 hours or as directed by adhesive manufacturer and it will dry the adhesive and strengthen the pennies in place.
Please note: once the adhesive has dried, (if this is a floor) avoid walking on pennies unless you apply the grout, and walk/work gently as to not dislodge any pennies. Once dry, the grout will contribute to holding the pennies in place.
For now, this is it about the real penny tile installation sample.
Let's look next at grouting the pennies in part 2 - scroll down for link.
