Tile Sheets of 224 Pennies Each | Real Penny Tile Projects Made Easy
Grouting Pennies Installed as Tile on a Wall, Floor, Countertop, etc.
This page (grouting pennies) is Part 2 of our sample project using pennies as tile. If you've just landed here from Google or other search engine, please start in Part 1 - Installation of Real Penny Tile Sheets
|
Part 1 Part 2 |
We're picking up where we left off in Part 1.
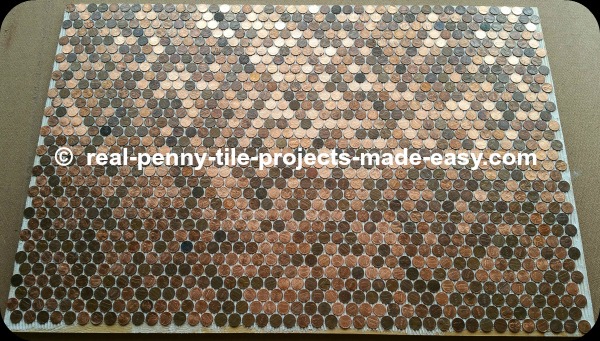
By now (2 days later for us) the adhesive is dry and the pennies are set in place.
If this was your new floor, do not walk on the pennies yet (except to grout them) as they are still sensitive and the wrong move/shock could dislodge pennies.
The grout (once dried) will contribute a lot to holding the pennies in place than the adhesive alone can do before grouting.
Grouting the Sheets of Pennies on a Floor/Wall
Before grouting the pennies we did 2 things:
- one was to trim the plywood as 2 sides were not straight to begin with. We waited to trim it until after the pennies were installed to make sure our 6 penny sheets will fit perfectly.
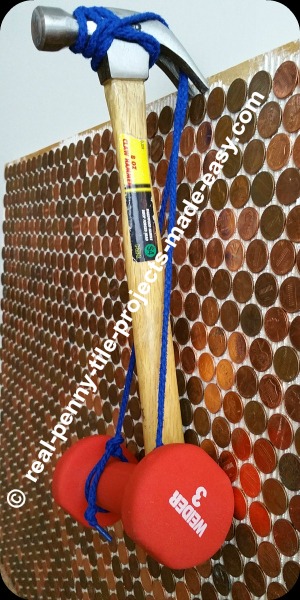
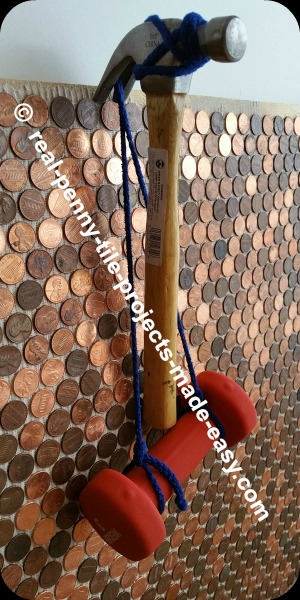
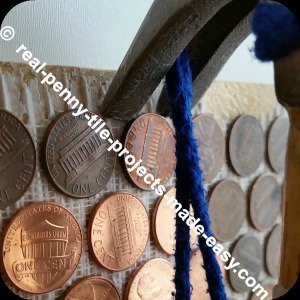
- second, we wanted to see how strong (or weak) the pennies are set in place, or how easy/hard would it be to dislodge a penny out of its place.
The challenge here was to actually document/prove the process in pictures so we leaned the plywood almost vertical against a wall, then...
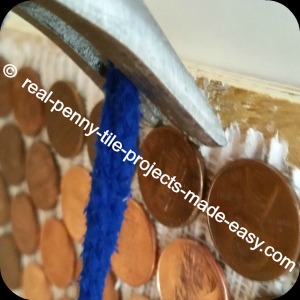
...after a quick look-around we put together a 'masterpiece'... a 3 lbs. dumbbell tied up with a string to a hammer which, due to its shape, was able to be used as a hook to hang on the edge of one penny, 'pulling' it downward. Here's the result:
And here is a close-up view:
 |
 |
It's time to grout the pennies.
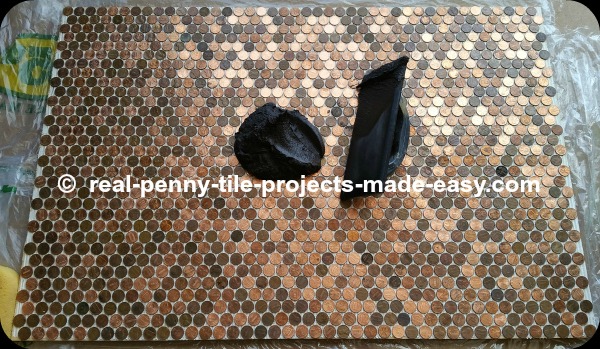
We used black sanded grout.
Only Sanded Grout For Pennies
Let's deal with the difference between sanded and non-sanded grout.
Sanded grout is more like sand and can be used in 1/8 in. gaps and wider.
Non-sanded grout is more like fine dust and is best used in 1/16 in. gaps.
Because of the pennies' shape and placement on the penny sheets, the smaller gap where the pennies are closer to each other is about 1/16th of an inch BUT the rest of the gaps between pennies are bigger, therefore the need for sanded grout.
Non-sanded grout may crack if used in spaces/gaps bigger than 1/16 in. and it'll most likely crack in spaces wider than 1/8 in.
You may hear differences of opinion regarding sanded vs. non-sanded grout and it's best to consult the manufacturer.
Nowadays you can find all kinds of grouts that were not available just a few years ago but that 'depth of grout knowledge' is beyond the purpose of this article.
Back to our pennies... We mixed the black sanded grout with a special liquid which claims to protect the grout against stains (today you can find grouts that already have sealer in them, and we're not talking only about the premixed grouts, but powder to be mixed with water by the user).
We used a mixer attached to a drill (set on lower speed) and a small bucket to mix the grout and that special liquid (off market now due to better choices available).
After mixing the ingredients for a few minutes, we let it sit in the bucket for 5 min or so. Then went back and mixed again for 2 minutes. These steps are needed for the grout to do its 'thing' (chemical stuff).
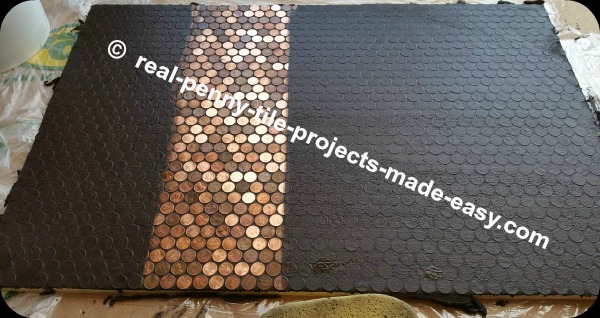
It's hard to describe what consistency the grout had but maybe the picture below will give you an idea. A slightly 'soupier' grout would've been good as well.
Grout spreading from different directions/angles is recommended so the grout goes down between the pennies and as much as possible under the pennies' edges wherever it finds room.
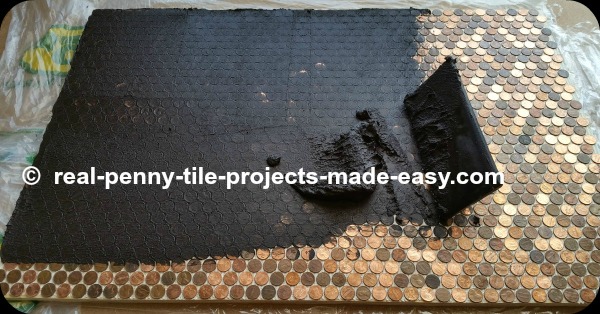
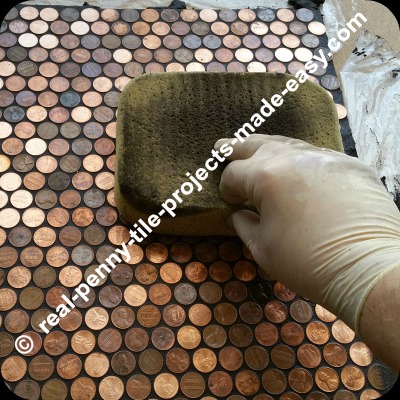
After the area was covered with grout really well, we took a sponge and a bucket of water and within 5 min. were gently running the very damp sponge in circles (and other shapes/ways) to kind of get the grout uniform while also picking up the extra grout on the sponge.
Rinse and repeat. Make sure to really squeeze the water out of the sponge.
To start seeing results (clean pennies like the picture below) you have to use one side of the sponge to wipe only once, then the other clean side again only once and STOP. Rinse and repeat.
Each side of the sponge gets used only once to remove excess grout, never twice because that will just return the grout back on the area you're trying to clean.
A secret here is that with the first couple of runs of the sponge you should press a little more down as you wipe away.
The last couple of runs you just place the sponge down easily and basically pull it away with extremely light (or close to no) pressure applied on it.
This will ensure you're cleaning the last few marks of grout from the surface of the pennies without pulling up more grout from down below.
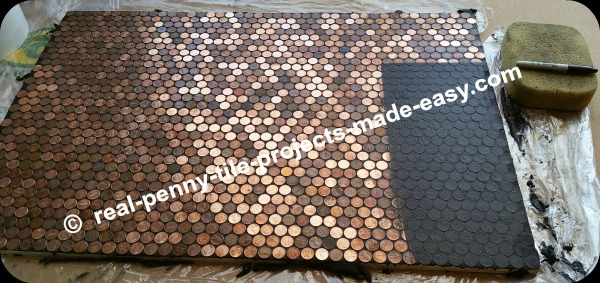
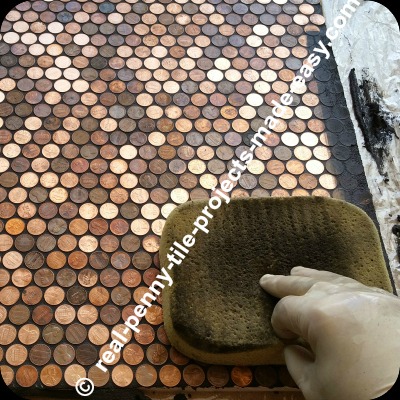
See the sponge we're using and the last part of grout to be cleaned from the pennies. The sharpie on the sponge is for size comparison purposes.
TIP: Never let grout sit too long on pennies. Work on small areas. Grout is like (colored) cement and dries as hard as concrete and it'll be very hard to clean each end every penny.
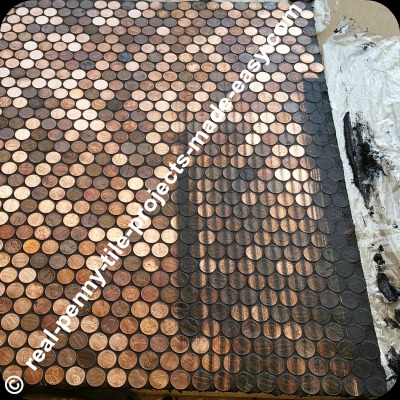
After running the clean sponge one time on each side on the black area above, the result is shown below.
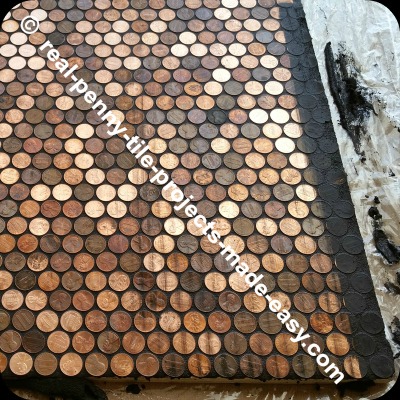
Another run of the clean sponge once on each side and we get this (pic below).
Some marks can still be seen (not including the very black edge). If these marks are left like this, they will dry and become much more visible.
Final run/pulling of the sponge with very very light pressure, just to remove the last haze from the pennies' surface without bringing up more grout from down below.
That's about it for now. Let's see a few pictures showing different angles and close-ups of how black grout goes with pennies.
When ready, click the link below to Part 3 - Black grout on real penny tile.
