Tile Sheets of 224 Pennies Each | Real Penny Tile Projects Made Easy
Due to the pennies being discontinued (very limited availability or no availability at all) we're most likely manufacturing the last batches of penny sheets and will soon become history like the penny itself.
If you're interested in grabbing some of our last penny sheets, the price per sheet is $59.00 due to the extreme efforts and time needed to source the pennies.
First come, first served! Let us know how many penny sheets you want and we'll let you know if we have enough pennies to make them.
Contact
Tile Sheets Of Real Pennies - The Real Penny Tile
Handmade Penny Tile Sheets Crafted For Your Unique Project With Real Pennies
Our real penny tile sheets are the best choice for your project with pennies which will definitely get everyone's attention and compliments.
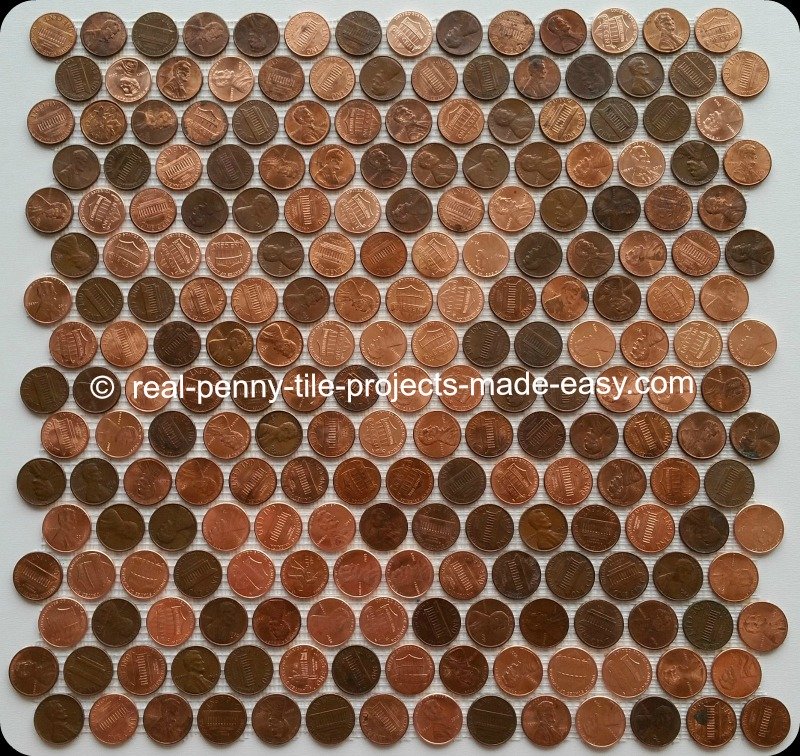
Each penny tile sheet is hand-made with 224 random pennies carefully placed so there's a small gap/space of about 1/16 inch in between the pennies for grout to go in there.
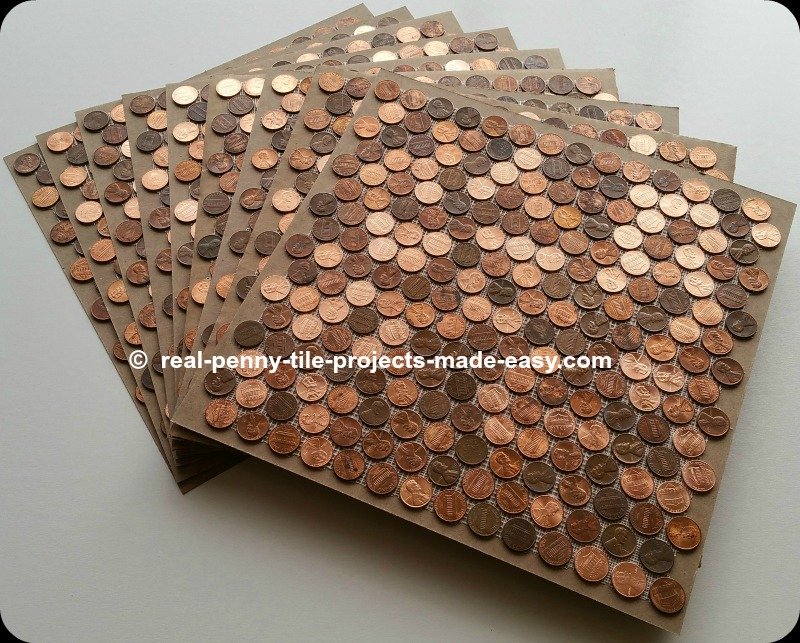
This picture shows how one of our penny tile sheets looks like and it comes in a size just under 1 SF (square foot).
Maybe you've already seen pictures or read articles about some people spending agonizing weeks or months gluing one penny at a time to a floor, wall or other surface. That's one way to do it - the hard way.
The process of tiling with real pennies has been made much easier and faster because you can Order The Real Penny Tile (handmade interlocking tile sheets of 224 real random pennies attached to mesh).
Each penny sheet has its uniqueness given the random position, shade, patina, side, year, or other details of each US penny coin including a lonely Canadian penny now and then.
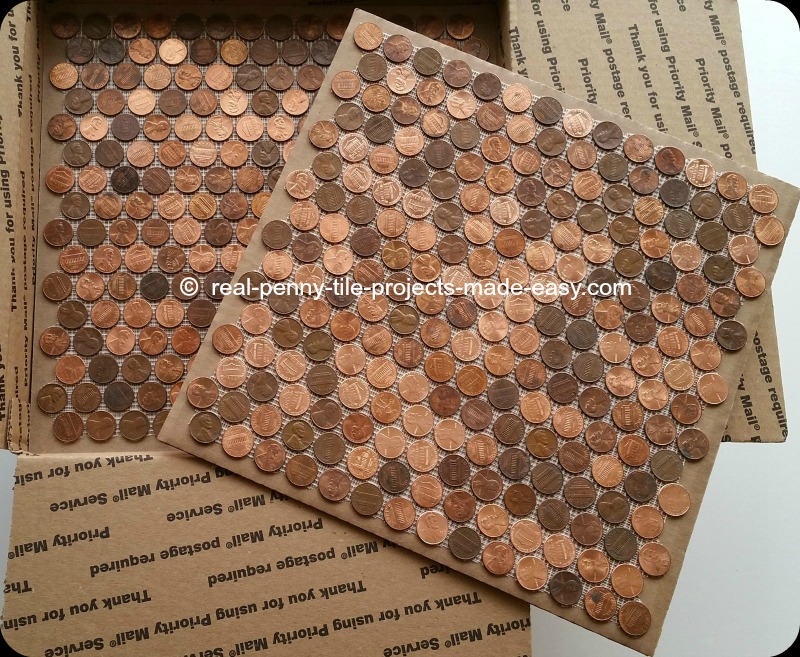
For size comparison, the square cardboard in the picture below is exactly 12 by 12 inches. This gives you a better visual idea of the size of a real penny tile sheet as it sits on top of the one square foot (1 SF) cardboard.
How many penny sheets do I need?
The Real Penny Tile - FREE Shipping Within US
Here Are Some Projects Made By Our Customers After Ordering Their Real Penny Tile Sheets
|
|
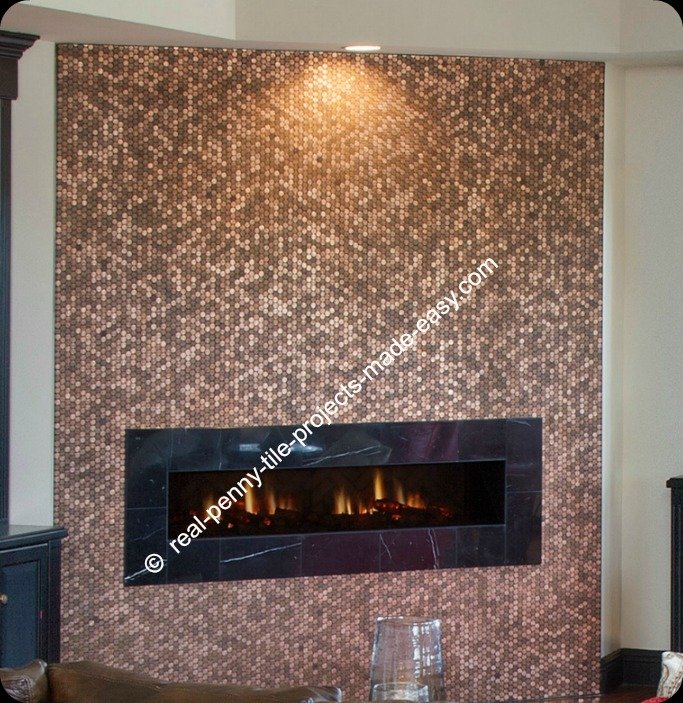
Some of our customers really impressed us with their beautiful penny projects. Here are a few of them: |
|
|
|
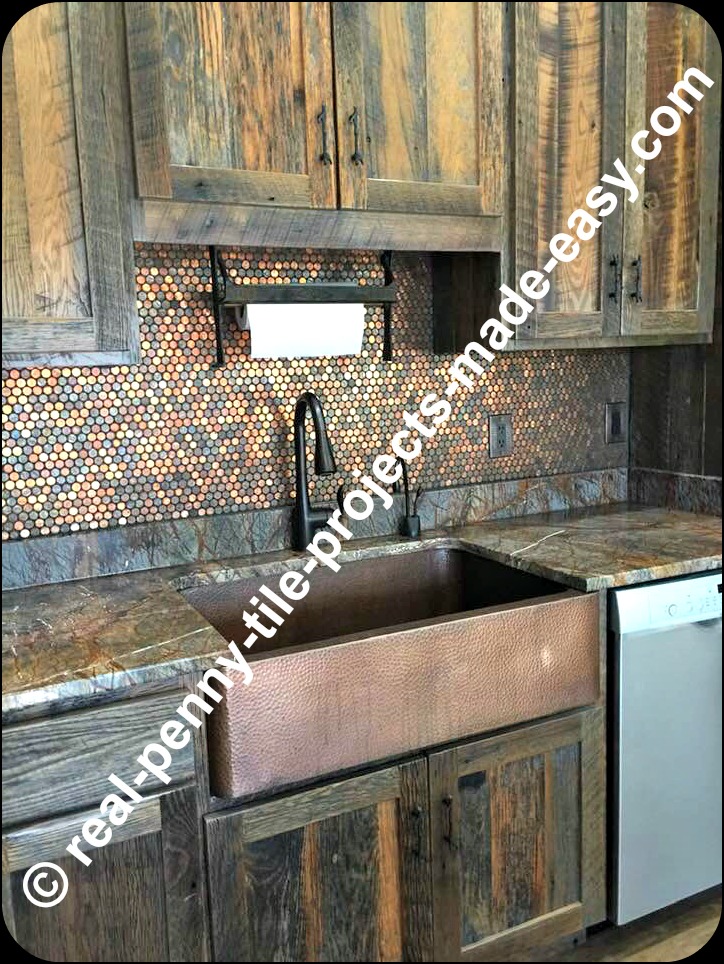
'Just thought I would share how our backsplash came out. It gets tons of compliments.' |
|
|
|
|
|
Order Your Real Penny Tile Sheets
We put a lot of passion and hard work in the hand-making of the penny tile sheets - a very time consuming process
Having these sheets for your project is the equivalent of hiring many 'sets of hands' to glue penny by penny to a certain area (floor, wall, etc) for a long, long time.
In a way, we're actually doing that hard work for you.
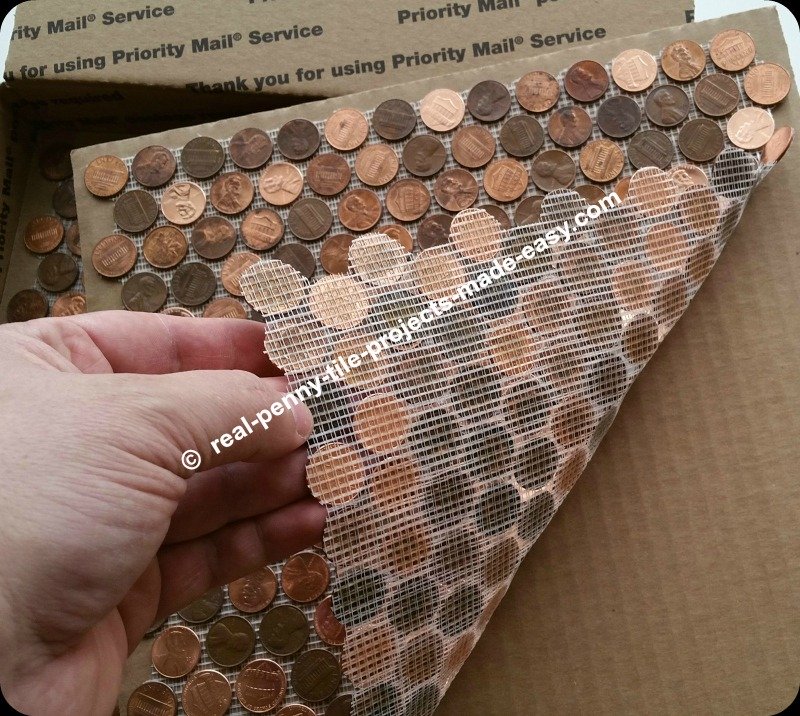
Notice how we make sure the mesh backing follows the round outline of each and every penny.
It takes time to do it but it's worth giving strength to all pennies on the edges and have a clean interlocking of sheets with no mesh in the way.
If any pennies on the edges would not be completely covered by mesh, they would barely hang in there 'hoping' not to fall away during shipping, handling, installation.
Good indicators of high quality in a tile sheet of pennies:
|
Real Penny Tile Sheets Out Of The Box, Ready For Installation
How the real penny sheets 'go together' - trying a dry-fit
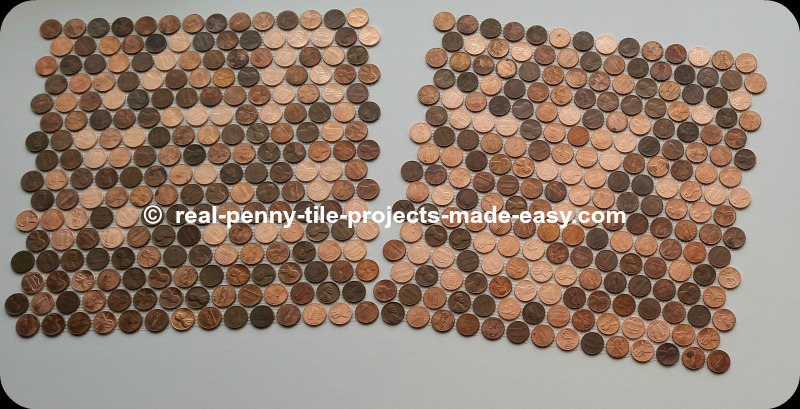
After you place your order and get your real penny tile delivered, you can gently place a few sheets on the table, or other flat and hard surface, and get a feeling of putting them together (interlocking). We call this a dry-fit or dry-run.
The idea is to get the penny sheets in a position where you can't really tell where one sheet ends and another begins - a seamless look!
The gap/space between sheets has to match the gap/space seen between pennies within a sheet. This is quite easy to do by mostly anyone when just 'playing' on the kitchen table.
It's a different story at installation time when adhesive is involved and many more sheets have to be professionally installed on a bigger area. Good planning by the right installer can make for a beautiful penny project.
The overall gap between pennies is about 1/16th of an inch - just enough so the grout can get in but not too big because the pennies would be too far from each other.
That's how we choose to manufacture/hand-make the real penny tile sheets and that's why we can fit 224 pennies in less than 1 SF (more precise .9 SF).
The dry-fit is a very useful step to do even in the case of a professional tile installer before installation. The actual installation is more of a challenge than 'kitchen table play' because each penny sheet has to be installed in adhesive in the right spot to avoid major position adjustments afterword (i.e. sliding the sheet on the glue).
How about a dry-fit with even more penny sheets...
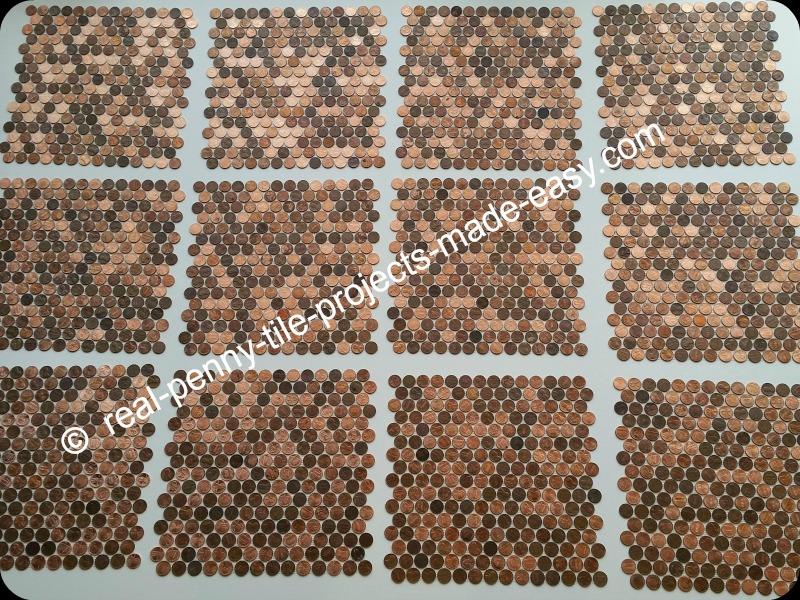
Here's an example of 12 real penny tile sheets, although a regular table will not fit this many as they are almost 3 ft by 4 ft.
But you can definitely try it with 6 sheets on a regular table and if you want to handle more sheets, an open area on a hard flat floor is a good idea but do not step on the sheets.
These 12 sheets were placed with gaps in between and then they were dry-fitted together but feel free to 'play' your own way. Just handle your penny sheets carefully and gently, and do not bend or handle them in any extreme way.
The penny sheets must get close enough to each other but not touch each other.
Just enough gap is needed to get the right look and for the grout to have room to go down between pennies when grouting time comes (after installation & drying).
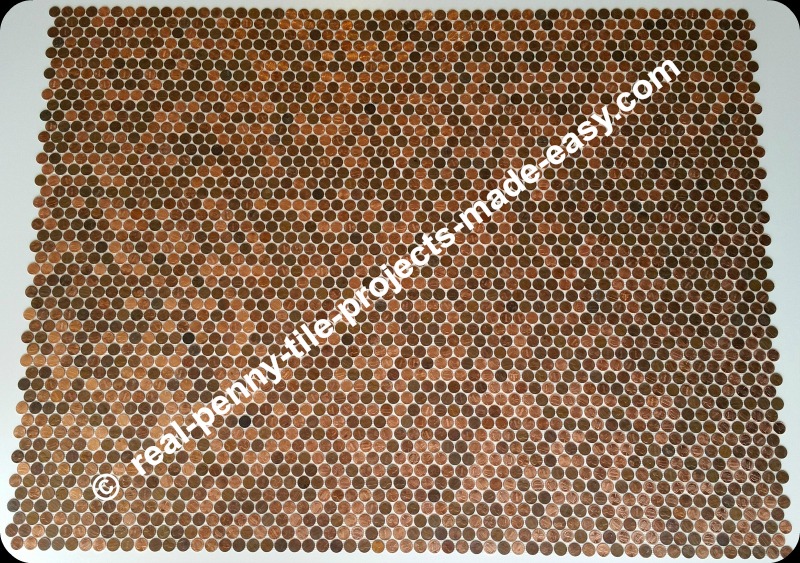
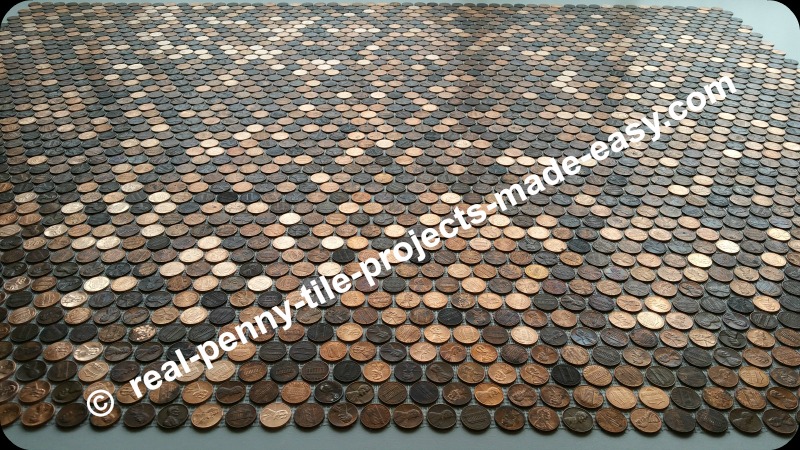
And there we have it... twelve interlocked tile sheets made with real one cent coins. Even though this is just a dry-fit, you can get an idea of how your new real penny tile floor or wall will look - a unique kind of penny round mosaic coin tile.
Notice how you can't tell where one tile sheet of pennies ends and another begins.
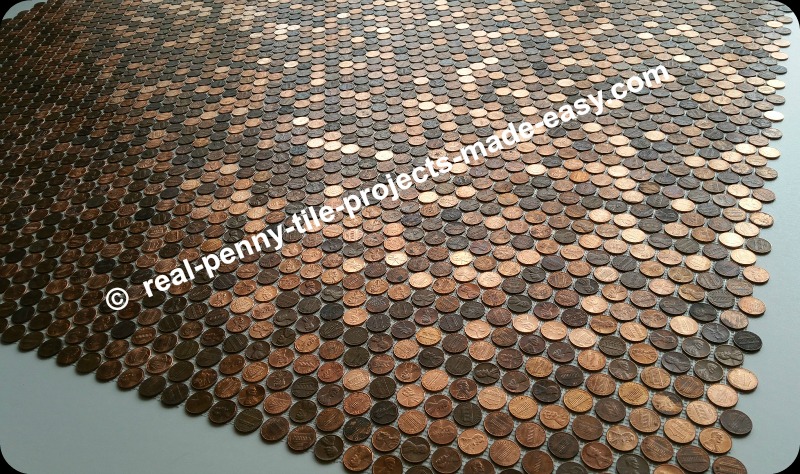
Next 2 pictures show different angles of view of the same 12 real penny tile sheets from above.
It's interesting that as you move around a floor/wall covered in pennies, and depending on the light too, new pennies start shining while others seem to fade away until they are seen again from the angle that can bring that spark back again.
Real Penny Tile Can Offer Quite The... Change
Remember, the sheets of pennies you see here are just placed on a flat, hard surface and are not installed yet, nor grouted. Grout will offer a more complete and beautiful finished look to the real penny tile.
Sample Installation of Real Penny Tile Sheets
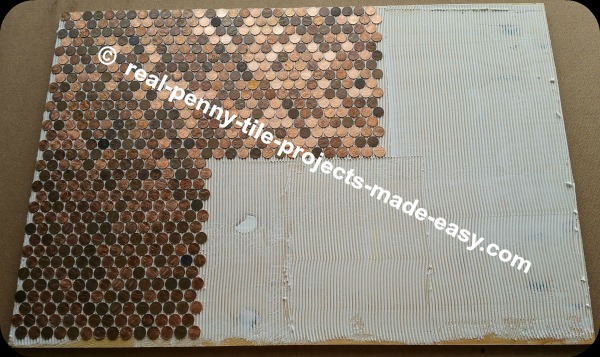
The next pictures show the main steps of a real penny tile installation sample we've done some years ago. To see more detailed steps and pictures, here's the link to Part 1 and you can also find the same link at the bottom of this page.
A few things to consider when installing real penny tile:
- the surface (floor, wall, etc.) must be as close to flat as possible, clean, etc
- the adhesive/mortar/glue must be spread in a thin layer so none of it can come up in between and above the pennies
- ideally, achieve a seamless installation (can't tell where one sheet ends and another begins)
- a rolling pin or similar tool is best gently rolled over the pennies to make sure all are flat and make contact with the adhesive
This is by no means a complete list of installation instructions. That is determined by your pro installer and you. We only provide the penny sheets and cannot contribute in any way to your project beyond that point - see more in answer #1.
After the glue dries (usually 24 hours but check the manufacturer's instructions), it's grouting time!
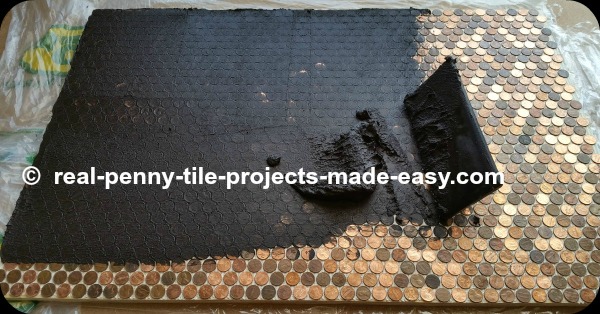
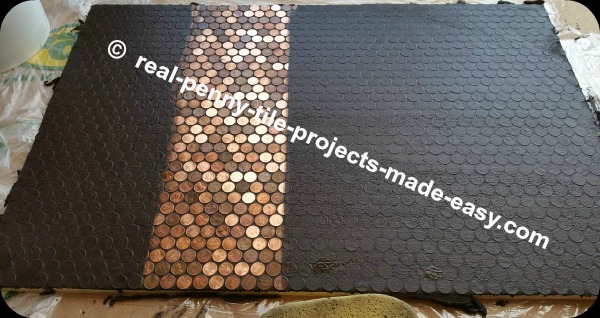
Black Sanded Grout Application on Real Penny Tile
For our sample installation we chose black grout because black seems to be a very good choice for pennies. The grout must be sanded.
Do not use un-sanded/non-sanded grout because it can crack during/after drying.
Using a grout float, the grout is spread and pressed/pushed down in between the pennies from different angles. Being slightly gentle with this process ensures that no penny will become loose by any reason related to the work.
The fact is, the pennies will be held in place much better by the grout when it will be fully dried. But until then, caution and gentleness should be used in every aspect while grouting the pennies (walking, kneeling, dropping/sliding tools, etc).
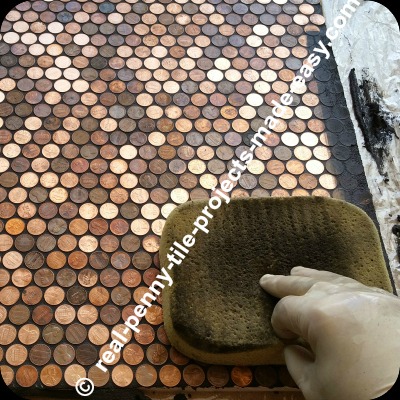
Washing/Cleaning Black Sanded Grout From Pennies
We describe washing/cleaning the grout in more detail in the 3-part article (Part 1 here) but a real pro tile installer should already know how to professionally do this process and leave a clean surface. It may not be as easy to achieve it on pennies as it is with regular tile but it can definitely be done as you can see below.
Grouting should be done in very small areas to see how it goes and what it takes to get clean pennies. Dried grout on the surface of regular tile is very hard to clean but it's even harder when it's on the surface of thousands of pennies. That's why it's very important to clean the grout the right way at application time.
Next Day After Grouting The Real Penny Tile...
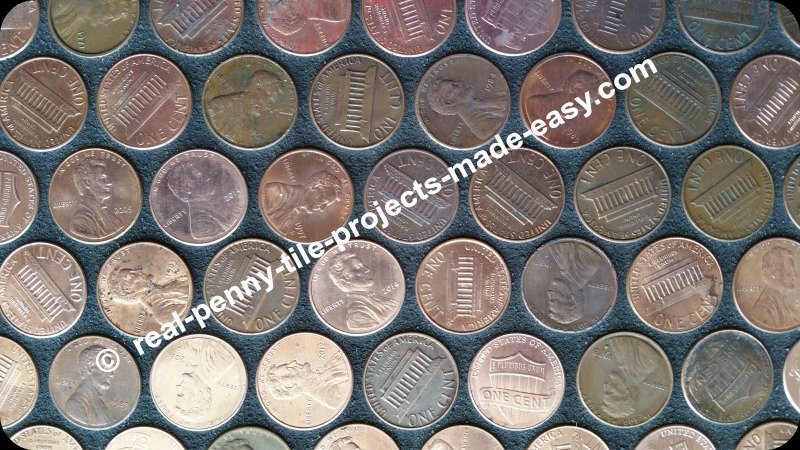
This is a close-up view of how clean the pennies can be the next day if cleaning the grout off the pennies the day before was done as it should be. Still, it may be that a little buffing/wiping may be needed to remove a very thin layer of dust but no thick layer of grout should be seen anywhere on the pennies' surface.
The same way varnish (clear hard protective coat) seals and protects hardwood floors, a similar product/sealer could provide protection to your penny project.
Such product should be (tested and) proven it works and only consider applying it after trying samples and making sure the grout has completely cured. We're sorry we can't recommend any products, methods, etc... see why in answer 1.
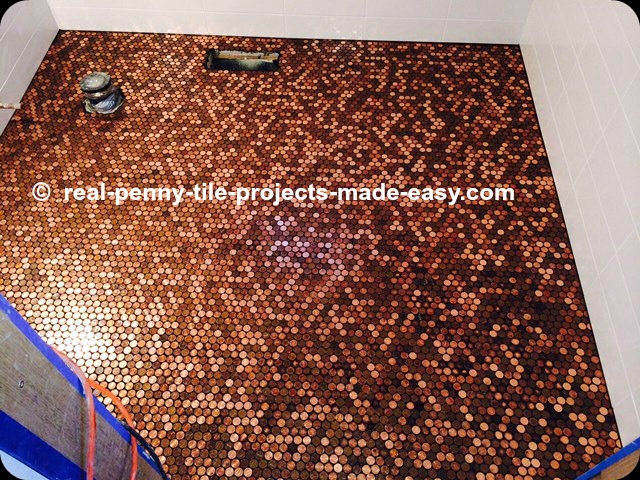
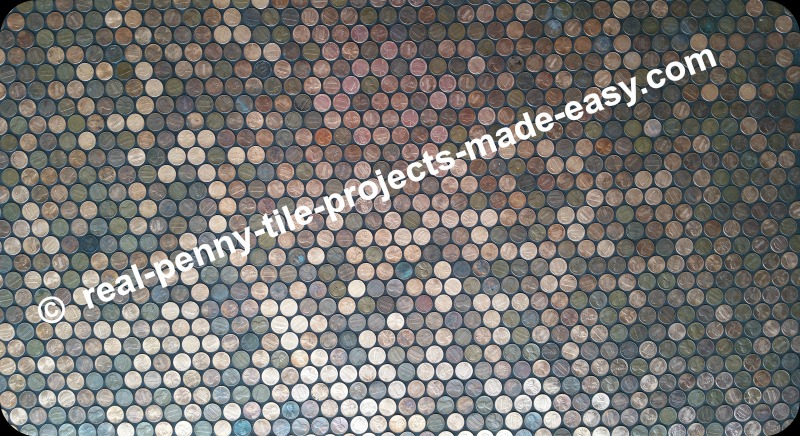
And the last picture is pretty much what you could see in your own home if:
-your own wall was covered in pennies
OR
-standing up and looking down at your brand new real penny floor
Our meticulously (hand)made real penny tile sheets will save you a lot of pain, going from gluing one penny at a time to installing hundreds of pennies at once... 224 pennies with each tile sheet, to be precise. That's quite the 'change' !
